Most toys I see today on the market, especially at holiday times, aren't very good for helping children develop intellectually.
Practically none are open-ended or non-directive enough to let a child exercise his/her imagination. And none that I know of are available to help in everyday reading practice.
Would you like to know how to make toys that are meaningful and beneficial in helping the child who is an emerging reader read and identify things in everyday life - cans of food at the supermarket?
Then here's what to do:
The Can Opener
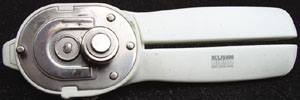
The special can opener that cuts the lid from a food can from the side, leaves no sharp edges, and allows the lid to fit back on snugly. |
Get yourself one of those fancy can openers that cuts the rim from a can without leaving a sharp edge. I received mine as a gift from a very thoughtful lady I know, but you can get them at Bed, Bath, and Beyond, or a store that sells specialty kitchen utensils. It'll be a little pricey - 20 bucks or so - but the toys you can create make it well worth the cost. The label on mine says: "KUHN RIKON, Made in Switzerland."
Epoxy
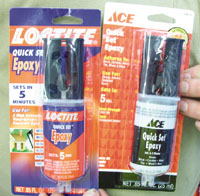
Some examples of the kind of epoxy adhesive to use. Be sure to get the 5-minute kind. |
Go to a hardware store and get a small kit of the adhesive called "Epoxy." Get the five-minute stuff. Spend a couple of bucks for the adhesive. Buy the smallest quantity available. If you use it like I tell you, it will last for years, and once you learn how to use it, it'll be good for all sorts of other mending and assembly jobs. There is no other cost for the toys.
Open & Clean
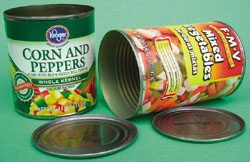
Food cans and lids read for assembly. |
The next time you open a can of food, open it with this can opener and clean and dry the can. Leave the label on. Clean, dry and save the lid. Put them aside until you open another can. (The following instructions explain how to make at least two toys at a time.) Clean and dry the new can and also save the lid. Now you're ready to make toys.
Chill & Stir
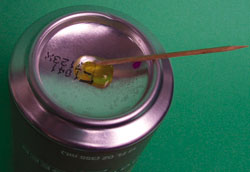
Mix the epoxy with a toothpick in the bottom of a beverage can cold from the refrigerator. |
Get a cold can of your favorite beverage from the refrigerator. Turn it upside-down. Put a small quantity of epoxy on the bottom of the cold can - just half a dollop will do. Stir it thoroughly with a toothpick. No need to rush, as the cold of the beverage can will give you at least ten minutes before it begins to harden.
Spread the Goo
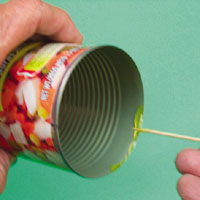
Spread the epoxy on the inside rim of the can using a clean toothpick. |
Get a clean toothpick, pick up a little of the epoxy and spread the epoxy on the inside of the rim of the can. Pretend it's butter and apply it with an angular smoothing motion, as though you were icing a cake or buttering toast. Rotate the can as you butter, so you're working at the bottom of the opening and smearing the epoxy on the inside edge of the can. (See photo.)
Add the Lid
While the epoxy is still soft, put the lid back on and rotate it so as to to smear the epoxy around so all parts of the seam get covered. Wait until it hardens. Now you have the makings of a set of toys.
What to Do with Your New Set of Cans
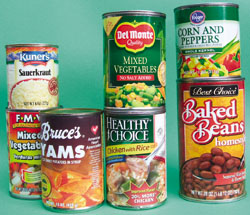
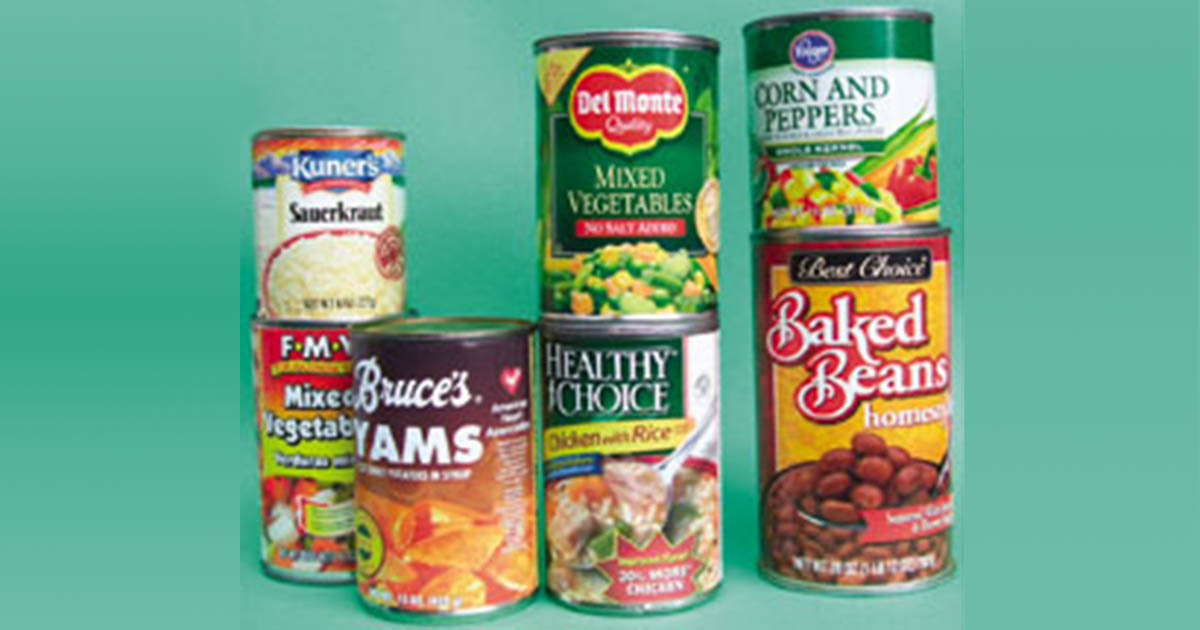
Here's the finished product! Now make a bunch more, put them in a pillowcase, and give it to an emerging reader. |
Give these empty cans to your emerging reader to play with. Put them in an old pillowcase. He or she may not be interested until you have eight or ten of them, different sizes and from different foods. When it's play time with Mommy or Daddy, ask the young one to get the case and see how high he/she can stack them before they fall. Ask for a particular food. Hold up a can and say a word that is on the label, then ask him/her to find that word. Example: I'm holding a can with the word YAM on it. I'll ask the youngster to find the word "yam" and tell me the first letter in the word yam. Then I'll ask for a can with the word vegetables on it. Then I'll ask him/her to point to the word mixed. And so on, each time increasing the challenge; more difficult words, smaller type, sometimes to read any word printed in red, or any word that contains another, shorter word.
Benefits of this set of toys? It keeps growing, it has all of the letters somewhere, it has many different type faces, it has pictures of the contents, it is a subset of what is seen at the supermarket - and it's cheap!
A perceptive parent with an emerging reader should be able to expand on these ideas and ask challenging questions at every stage of the child's growth. And, of course, when it's time to play store and spend play money, prices can be put on each can.
Try this and see if it doesn't bring new meaning to the phrase, "Can do"!